Your shed is only as good as the foundation beneath...
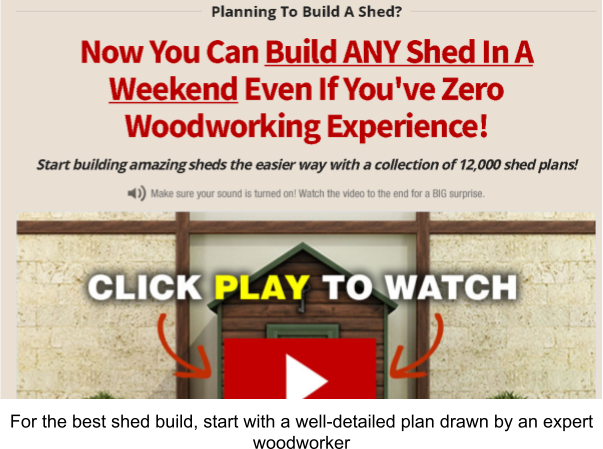
Read MoreThe Step by Step Guide To Build A Shed (Ryan’s Shed Plans)
- WWPN Staff
Having a wood shed can help you free up space in your store, garage, or even kitchen. A shed not only offers safe space for storing your precious belongings but can also add value to your property. Additionally, building your own wood shed can be an interesting and stimulating DIY project.
The beauty of building your own shed is that you can customize the shed to suit your exact unique needs.
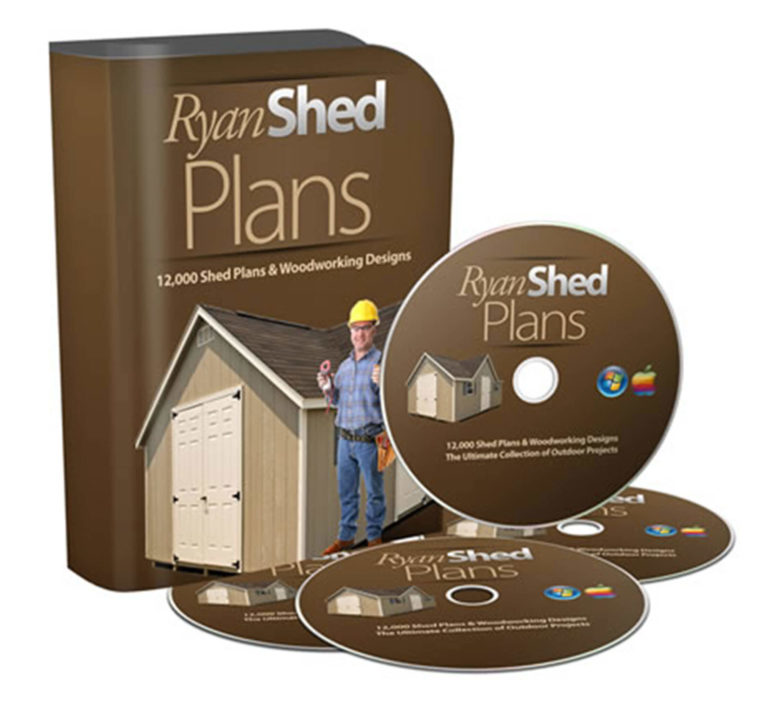
Ryan’s Shed Plans is designed to help people learn how to build the shed they want, so they can save a ton of money. The program offers step-by-step instructions and detailed blueprints that show you exactly what you need to do to build a shed.
At A Glance How To Build A Shed Plans
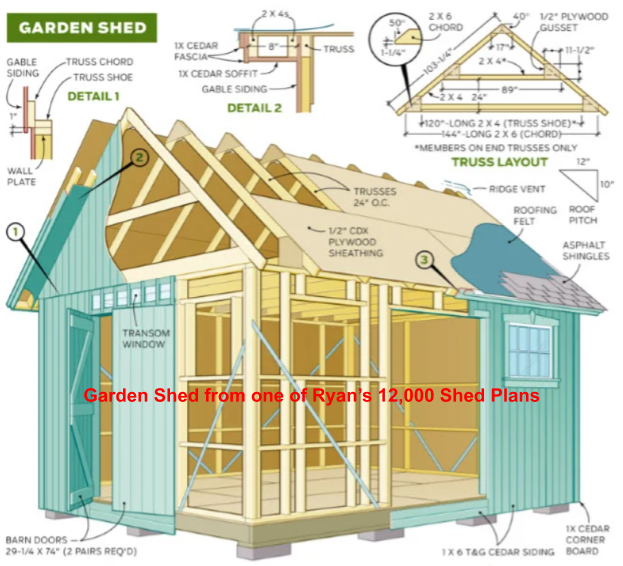
The Step by Step Guide of Ryan's Shed Plans
Looking to build a shed but have no idea where to start? This program is for you! It provides step-by-step instructions for building over 12,000 different types of sheds. No matter your skill level, this guide makes it easy to construct the perfect shed for your needs.
Start with The Foundation
Poring through woodworking shed plans, every one of them starts with determining the size of the shed. In today’s example, I will be guiding you through building 10 feet by 10 feet outdoor shed.
Unlike most structures, a shed doesn’t have to rest on a deep foundation. According to most shed plans, a square space filled with gravel and topped with treated boards is enough as long as it’s on well-drained soil.
Start by clearing the space where you want to build the shed. Dig a foundation of between 6 and 18 inches deep. For a shed of 10 by 10 feet, I would suggest having a clearing of 12 by 12 feet.
Pour in the gravel and level it. Lay your 6-inch by 6-inch boards parallel from front to back to form a square frame on top of the gravel. In most of the Ryan shed plans I have used, these boards will form a very strong and stable joist system.
How to Build the Shed Floor
Once your foundation is done and level, double check that the joist frames are level. Then lay the 2×6 boards for the joist in parallel and 4 by 4 boards for the skids and framing. You want to make sure all the angles are correct, with the corners at exactly 90 degrees for a stable shed.
Attach the rim joist to the main joist. Use a spirit level at every step to make sure the whole floor is level. Use Simpson brackets and nails to strengthen the connection between the joist, skids, and frame.
Lay down tongue and groove sheets of plywood to make the floor. You may also use square-edged plywood if tongue and groove are either unavailable or too expensive. Use a circular saw to trim the edges. Use chalk marks to mark where the plywood lies on the joist so your nails don’t miss the joist.
Framing The Walls of the Shed
Once you have laid your floor, start by framing the back wall. Usually, the back wall lacks doors and windows, so it’s the easiest to start with. The walls can be especially tricky for a newbie, so invest in top-notch manuals such as Ryan’s how to build a shed with 12000 shed plans pdf.
For the top and bottom frames, we will use 2x4x10 boards. You can frame the corners with California corners so it’s easier to drywall the insides later. Once you build the frame, nail it to the back edge ensuring its straight and level. Secure it to the outer joist.
Once done with the back wall, it’s time to build the side wall. You can start with the one with few or no windows. Frame the side wall 16 inches from each edge to accommodate the front and back walls. Once you’ve done the frame, stand it and secure it to the outer joist. Also, attach it to the back wall at the top, bottom, and sides.
The next wall should ideally have a window. Glass and vinyl are good options for shed windows. Build the frame with the window space. Use a trimmer or jack stud to support the header and a king stud on each side to support the window right from the bottom plate to the top plate of the wall. Use short vertical cripple boards above and below the window frame. Just like the other two walls, stand it and secure it to the joist. Then secure it to the top, bottom, and along the vertical length of the back wall.
The front wall comes up last. Decide on the width of the door. For this project, I would suggest a width of 6 feet for the door. However, it all depends on what you will be using your shed for. Use jack studs and a king stud on each side to support the door frame.
Erect the front wall and secure it to the joist at the bottom. Then secure it to both side walls at the bottom, top, and all along the vertical length. Cut off the bottom plate of the door section, ready to put in your door.
Shed Plans for the Door
For extra strength, you can add a jack stud on each side of the door frame. This provides better support for the header. Also add short cripple boards between the header and the roof for extra stability.
If you’re making your own doors instead of buying pre-made, I recommend using 2 by 4 boards for the frames. Attach sheeting to the door frames and sidings which overlap the frames an inch on the outer sides, top, and bottom. The centers should be an exact fit for both sides of the door.
It’s easier to paint or stain the door before installation. Leave it overnight for the paint to dry. Install the door and make sure the hinges fit snugly and keep the doors upright, not at an angle. The doors should open smoothly and not swing by themselves due to angled installation.
Use scrap pieces of OSB from the roof to seal any spaces at the bottom of your door. Finally, install bolts, latches, and locks as needed.
Installing The Shed Window
Whether you’re using glass or vinyl, you’ll want to correctly measure your window. Sand the edges of the window frame and the wall siding before installing. You want a smooth even fit that will not only look good but also keep away wind and water.
You can use outdoor-grade spray paint if you want to change the color of a pre-bought window frame. For a self-made window, you can use the same paint or staining method you used for the wall sidings.
Woodworking shed plans recommend using a spirit level to ensure the window is upright at a 90-degree vertical and horizontally level.
Building The Shed Roof
If you followed Ryan’s shed plans to build a roof, these are the step-by-step instructions to follow.:
- If your shed will be a lean-to, add a small top wall about a foot tall.
- Measure the correct angles then cut the bird mouths for the rafters
- Cut out enough rafters to space them one or two feet apart from the front elevated wall to the back wall.
- Use hurricane clips to secure the rafters to the wall plates.
- Add sub-fascia to hold the rafters together at the front and back.
- Along the side walls, there is some angled space between the top rafter and the top frames of the side walls. This is because of the added front wall to create the lean-to effect. Secure the space with some short vertical cripple boards which will be used to secure the wall sidings later.
- Install the sheeting on the roof using OSB (Oriented Strand Board) roof sheathing. They are stronger than plywood, are cost-friendly, and weather resistant.
- Install the fascia on the sides of the roof then follow up with installing a drip edge at the back end of the roof.
- Put done the underlayment such as tar paper, especially if you’ll be doing shingles for your roof. Trim the underlayment at the edge and secure with cap nails to avoid flapping in the wind.
- Lay the starter shingle roll before laying the shingles. Use chalk lines to line up the shingles perfectly.
Sidings
Your shed frame is now complete. Installing the siding will finish up the walls on the four sides. For the siding of this project, I would suggest using 4 by 8 sheets of 7/16-inch-thick LP smart siding. They are pretty easy to install and are long lasting. A coil siding nailer works fastest with neat results. If you don’t have one, then a regular hammer and nails or drill and screws can do the job just fine.
With a reciprocating saw, cut out the sidings to reveal the space for the door and windows.
Painting Your Shed
With your floor, walls, and roof complete, apply two coats of paint or staining to the walls.
Organizing Your Shed
Doing the interior is the last step towards making your shed useful. Add shelves to the wells for the kind of storage space you need.
Add hooks for hanging your tools. You can also add some cabinets for storing anything that needs to be locked up or just needs to be hidden away from pets and kids.
Wrapping Up
Ryan Henderson provides detailed plans on how to build a shed with 12000 shed plans pdf. These plans make it easy for anyone even to build a shed, even if you lack handyman skills. The plans are easy to follow and come with 3D CAD-designed illustrations.
For your next shed-building DIY project, resist the temptation to wing it. Get yourself an expert-created plan. In the long run, a well-laid plan will save you time, money, and materials. The result will be a neat shed that will be strong, steady, and secure.