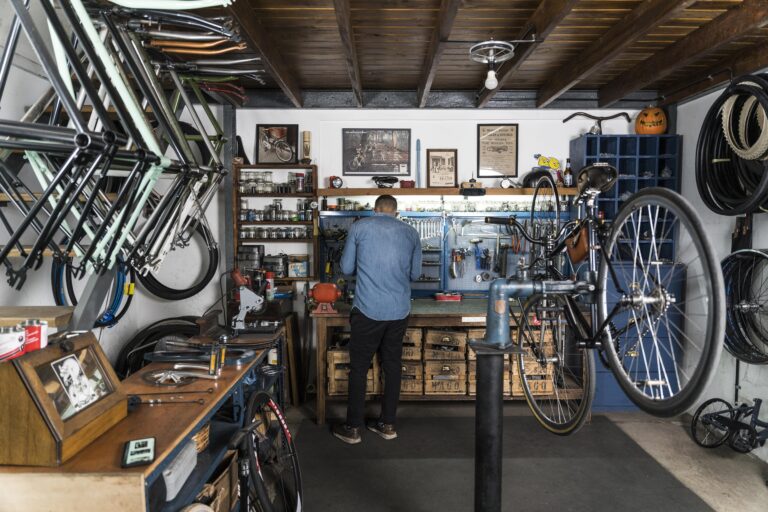
The garage is too cold. The basement is too damp. The spare bedroom is… well, you know how that negotiation ends. For many woodworkers, the humble backyard shed represents the Holy Grail: a dedicated space that is yours. No moving the car. No waking the baby. Just you, the smell of sawdust, and the sound of a plane gliding over white oak.
But you cannot just roll a table saw into a leaky garden shed and call it a day. To turn a 10×12-foot structure into a high-functioning workshop, you need three things: a ruthless layout, adequate power, and airborne dust control.
Here is the blueprint for building the best woodshop in the neighborhood — one that happens to live in a shed.
Part 1: The Layout — Working Small, Thinking Big

The average resin shed or wooden outbuilding is between 100 and 200 square feet. That is tight, but not impossible. In a tiny workshop, every inch must serve two purposes.
The “Triangle” Workflow
Mimic the kitchen triangle (sink, stove, fridge) for your shop. You need a triangle between:
- Lumber Storage (Infeed) — The door or a pass-through window.
- The Main Machine (Table Saw / Workbench) — The heart of the shop.
- Assembly/Outfeed (The Bench) — Where finished parts land.
The Winning Layout for a 10×12 Shed:
– The Long Wall (12’ side): Place your table saw here, oriented so the long fence runs parallel to the wall. Build a flip-up outfeed table that attaches to the saw and rests against the wall when not in use.
– The Door Wall: Dedicate the area facing the door for sheet goods and long lumber (upright racks).
– The Back Corner: The miter saw station. Build it into a long bench with stop blocks. The saw should spit dust towards the door for easy cleanup.
– Mobile Bases are Mandatory: Bolt everything (planer, jointer, drill press) to locking mobile bases. You will move your tools outside on nice days to work on big glue-ups.
Pro Tip: Install a “Dutch door” (half-split door). Open the top half to feed 8-foot 2x4s through the miter saw while the bottom half keeps dust and tools contained.
Part 2: Power — Running a Real Shop on a 15-Amp Circuit

Here is the cold, hard truth: Most sheds come with one extension cord run from the house. That will trip a breaker the moment your dust collector and table saw start up simultaneously.
The Upgrade You Need
You do not need 220v for a hobby shed, but you do need two dedicated 20-amp circuits.
– Circuit 1 (Lights & Outlets): For LED lights, battery chargers, and your radio.
– Circuit 2 (Tools): For the saw, planer, and vacuum/dust collector.
How to get it there:
Run a direct burial 12/3 UF cable from your main house panel to the shed in a trench 18 inches deep. Install a small sub-panel (60-amp is overkill; 30-amp is fine). Install GFCI breakers specifically designed for outdoor structures (they are less prone to nuisance tripping than GFCI outlets).
Lighting is Power, Too:
Do not use a single bare bulb. You need 300+ lumens per square foot.
– Install: Four 4-foot LED shop lights on the ceiling joists.
– Add: Under-cabinet LED strips over the miter saw station and workbench to kill shadows.
Part 3: Dust Control — The Silent Workshop Killer

In an open garage, dust floats away (into your house). In a shed, dust recirculates. It clogs the motor vents, coats the finish on your current project, and turns the air into peanut butter.
You have two enemies: Fine dust (health) and Chips (nuisance).
The “Hybrid” System
You likely don’t have room for a 5HP cyclone collector. Here is the alternative:
- The Main Collector: A small 1HP wall-mount dust collector (like the Harbor Freight or Wen). Plumb it to your table saw and jointer using 4-inch PVC or flexible hose.
- The Extractor: A shop vac fitted with a Dust Deputy cyclone lid connected to your miter saw, track saw, and sanders.
- The Ceiling Scrubber: Build a simple “Corsi-Rosenthal Box” (four furnace filters taped around a box fan) and hang it from the ceiling. Run it for 30 minutes after you finish cutting.
Sealing Against the Weather
Unlike a basement, your shed moves with the temperature. If you leave a fine dust layer on cast iron tools, it will absorb humidity and rust overnight.
– Beeswax & Paste Wax: Wax your table saw top every two weeks.
– The “Overhang” Rule: Never push tools flush against the shed walls. Leave a 2-inch air gap to prevent condensation from wicking into the tool’s metal base.
Part 4: The “Nice to Haves” (Climate Control)

You will not work in a 105°F shed in July or a 20°F shed in January.
– Insulation: Do not skip this. Use rigid foam board (XPS) between the studs. It resists moisture better than fiberglass.
– Mini-split vs. Window Unit: If you are in a temperate zone, a 5,000 BTU window unit is fine. If you work year-round, spend the $800 on a 12,000 BTU mini-split (heat pump). It is silent, heats the space, and dehumidifies.
– Venting: If you use finishes (polyurethane, lacquer), you need an explosion-proof exhaust fan. Do not use a standard bathroom fan; the motor sparks can ignite fumes.
Final Reality Check
Turning a shed into a woodshop costs money. The tool collection might be $2,000. The electrical trenching might be $1,500. The insulation and mini-split? Another $1,200.
But here is the trade:
No more setting up sawhorses in the driveway. No more wiping snow off the tailgate. No more apologizing to your spouse for the dust on the washer and dryer.
Your shed will no longer be a place for shovels and lawn fertilizer. It will be your workshop. And when you close that door at sunset, the only thing left inside is the scent of cedar and the promise of tomorrow’s dovetails.
Go build something.